|
|
|
|
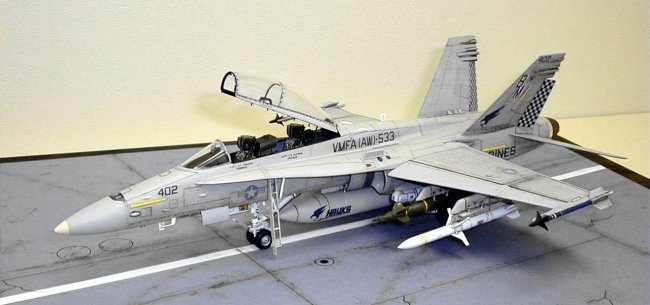
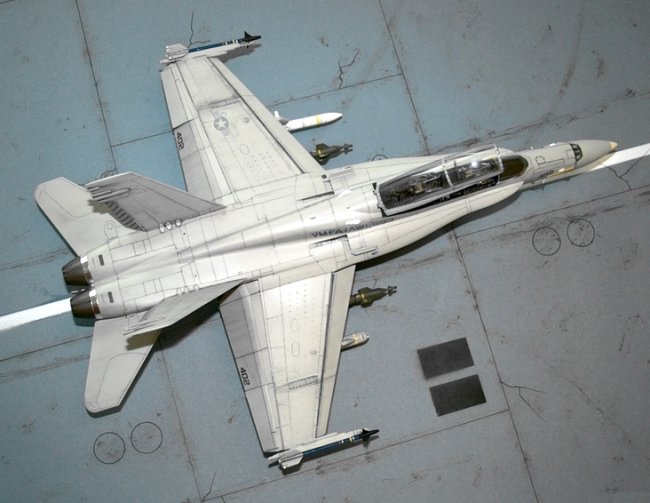
1/48 Hasegawa F/A-18D Hornet
|
|
-------------------- |
|
|
|
|
Some time last year I found the ARC web site while I was browsing around in the
internet. Since then I check everyday the ARC site for any new master pieces
made by modelers from all over the world. It is interesting that there are new
pieces almost every day. And now it is my turn. I would like to build a 1/48 F-15E. Somehow I couldn’t
find the kit in Hong Kong. After several months of searching, I finally found
one (a damaged box and faded cover art). As this is the only one I can find in
the world, I don’t want to spoil it (because I haven’t built any aircraft
for years). So I decided to buy a low priced kit to recall my skills, and to
discover new skills too. The Kit The kit is Hasegawa’s 1/48 F/A-18D Hornet “Night Attack”. I bought it for HK$190 = US$24 in a local model shop. There was another kit of the C-model, but it was priced HK$380 = US$49. Both kits were supplied with Hasegawa’s photo etched part and metal die cast undercarriage. Only the decal was different. I chose the D-model because I am always a fan of two-seat fighters. Opening the box you will see a 15-page instruction book,
a large decal sheet and painting guide for markings of VMFA(AW)-242 Bats,
VMFA(AW)-121 Green Knights and VFA-106 Gladiators, nine pieces of injection
parts, a small sheet of photo etched part, and three metal die cast
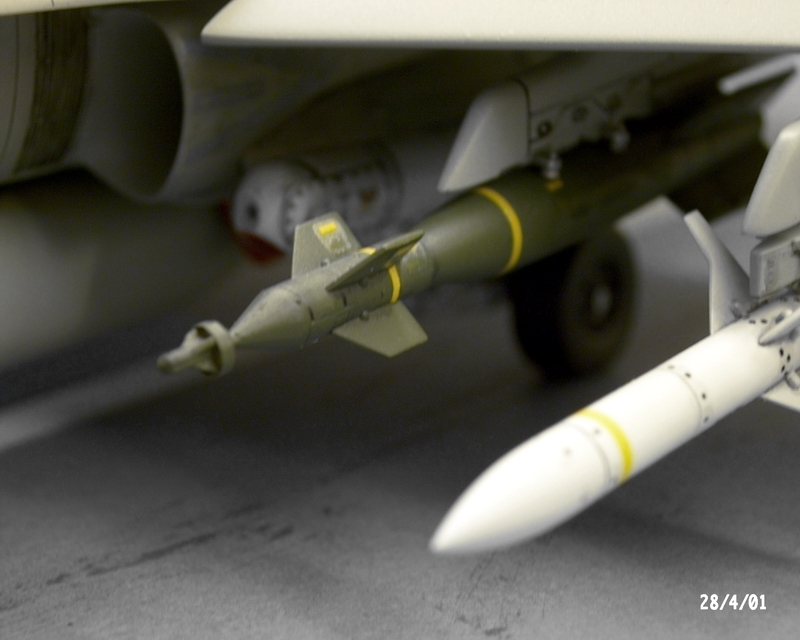
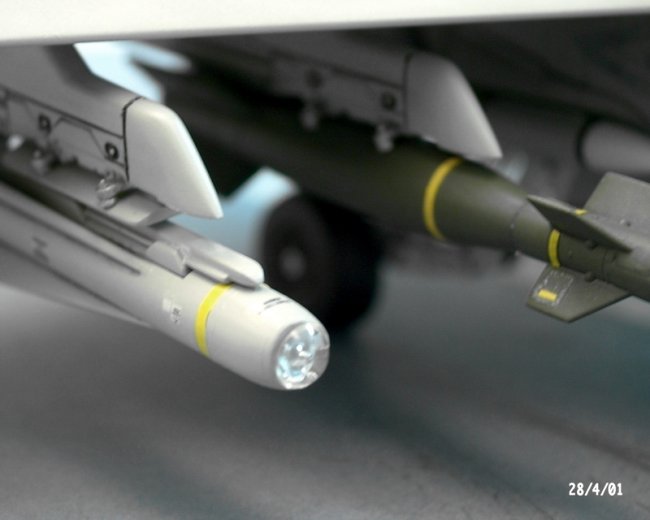
undercarriage. What disappointed me is the lack of weapons. Only the external
fuel tanks, navigation pod and the targeting pod are supplied. Construction
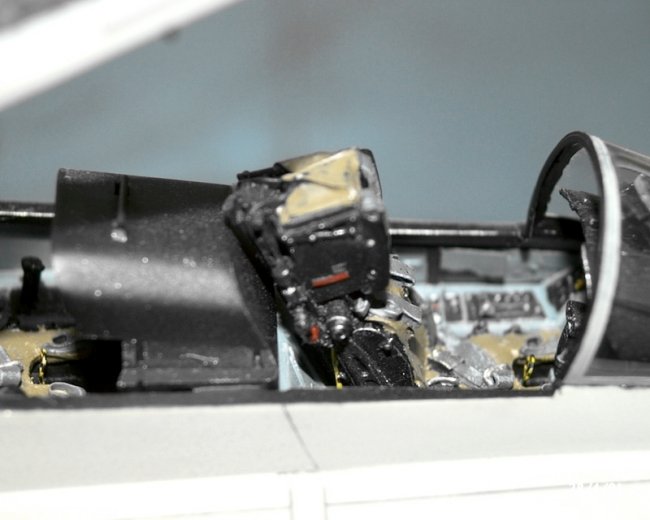
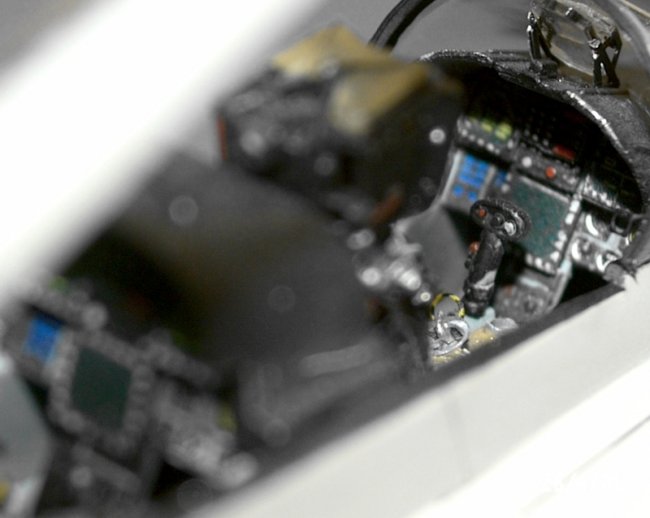
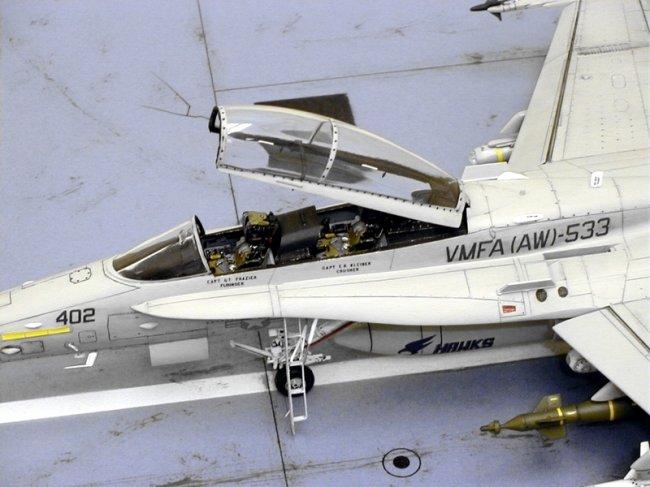
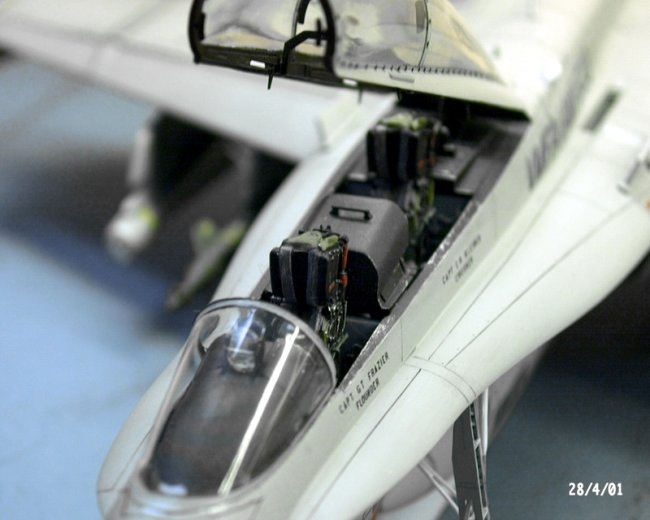
The instrument panel for both the front and back seats were replaced with Eduard photo etched parts. There is no photo etched part specifically designed for the D-model. So I bought two sets of Eduard FE131 (1/48 scale detail set for Italeri kit F-18A Hornet) and one set of Eduard 48221 (1/48 scale detail set for Hasegawa kit F/A-18A Hornet) for this task. The instrument panels were replaced with parts of the Eduard FE131. This is a new product. The gauge and MFD (multi function display) detail is no longer a black and transparent film as in the old Eduard 48221. The detail is now printed in color on a white photo quality paper. I cut out the gauges and MFDs, put them on the proper positions, mounted the gauge and MFD frames, and then finished by painting the frames with black and buttons/switches with grey/red and silver. The result was good.
The D-model cannot be flown in the back seat, so there
should be no control stick and throttle lever in the back seat. However, there
should be control sticks, one on each side of the back seat office for operating
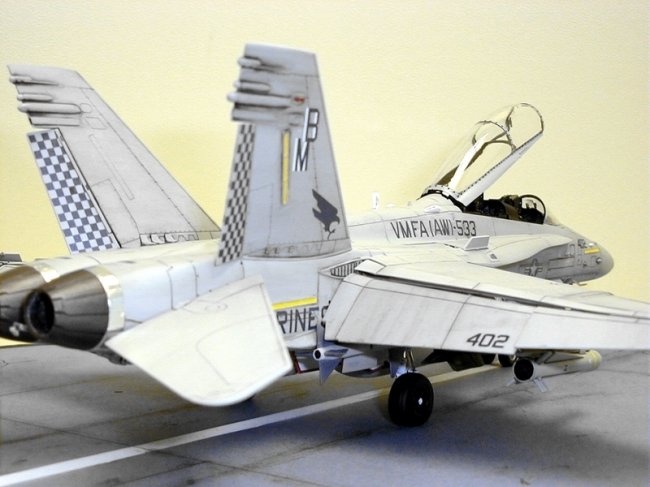
the targeting pod and other instruments. So I modified it. Before the fuselage was assembled, the air grills near the wing joints (leading edge) were replaced with photo etched part no. 33 (Eduard 48221). The fuselage halves fitted well, but the parts near the air inlet (both side) couldn’t fitted. Here I needed to put on putty and finished with abrasive paper. All the panel lines were later inscribed. I wanted to make the Hornet as it was on the ground with engine stop. So all the flaps, taileron, and rudder would be in down position. All these were prepared and painted before assemble.
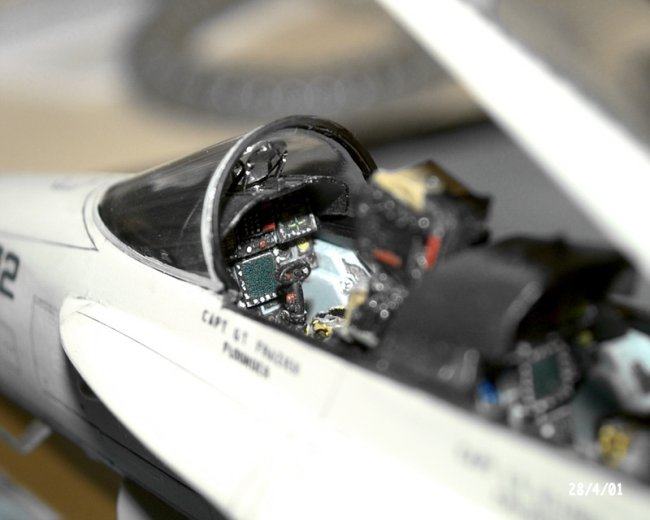
The canopy was of normal injection part, with a seam line right at the center of it. The seam line was removed (remove the seam with #11 knife, finish with #2000 abrasive paper, then rub with #3000 abrasive paste) and then photo etched parts (Eduard 48221 and FE131) such as mirrors, canopy lock etc. were added and ready for painting.
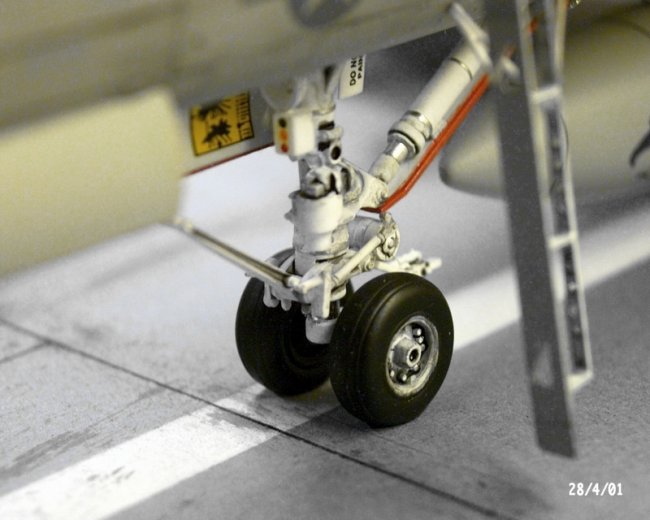
The retractable ladder was replaced with etched parts
from Eduard 48221. Undercarriage
Painting and Decal It is stated in every instruction books and painting
guides that the upper surfaces of the Hornet is of FS36320 grey and that the
under surfaces of the Hornet is of FS36375 grey. FS36320 and FS36375 is only
slightly different. With a little dirt and weather effect, they are almost of
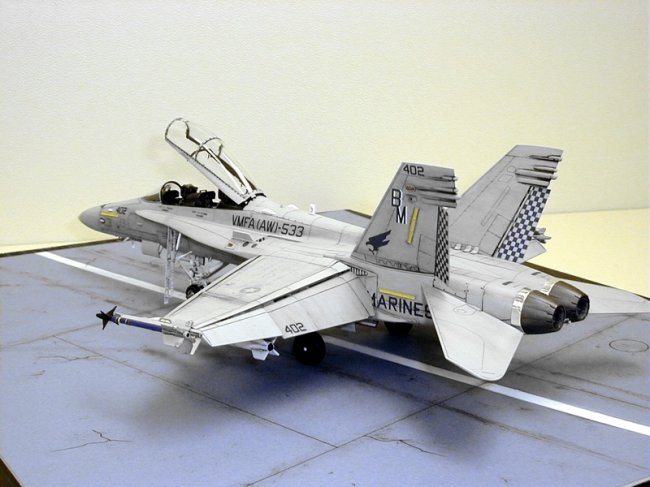
the same color. So I decided to use one single grey FS36375 for the whole
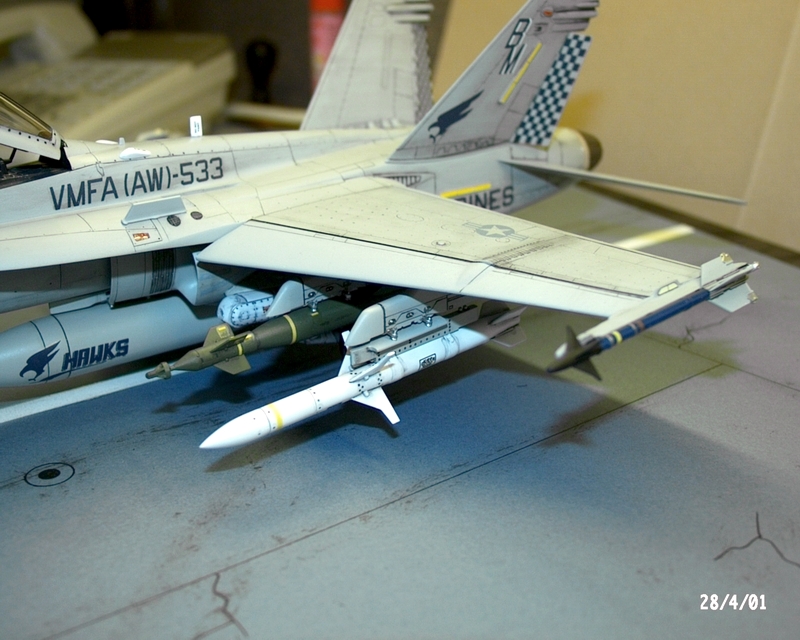
aircraft. This would make life simple and easy. The original decal supplied by Hasegawa looked good, but
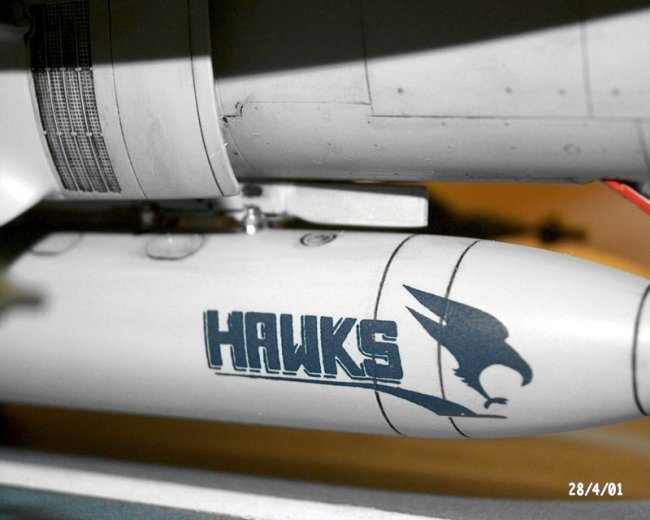
I would like to use a different marking. AeroMaster’s decal (48-485 Stinging
Hornets Pt. VI) was used instead. The decal is for VMFA(AW)-533 Hawks which
flown missions in Bosnia during Operation Allied Force. AeroMaster’s
instruction was clear and there was no problem to put the decal onto the correct
positions. A minor problem with the decal was that they wouldn’t stick very
well onto the surface, great care must be taken to avoid damaging the decal
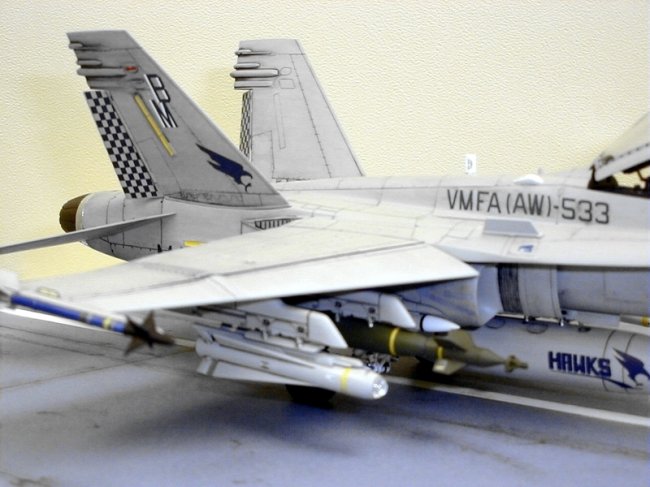
before semi-gloss clear was applied. The tail marking in the AeroMaster’s instruction is
“ED”. But photos of the VFMA(AW)-533 aircraft flown in Bosnia shown a
marking of “BM”. Fortunately, there were “BM” on the AeroMaster’s
decal. So I just switched them.
Weapon
Final Wash With all things assembled, color painted and decals on, I applied the final wash. Only a subtle wash was applied and I felt that was enough. A little heavier wash was applied at the wing folding positions. The result was quite satisfactory. Finally, semi-gloss clear was sprayed all over the aircraft. And the last step was to install the canopy with special adhesive.
Error in Hasegawa’s Instruction In step 16 of the instruction, kit part J5 should be a
little forward of the said position. Reference
Douglas
|
|
Photos and text © by Douglas K.
L. Chan