|
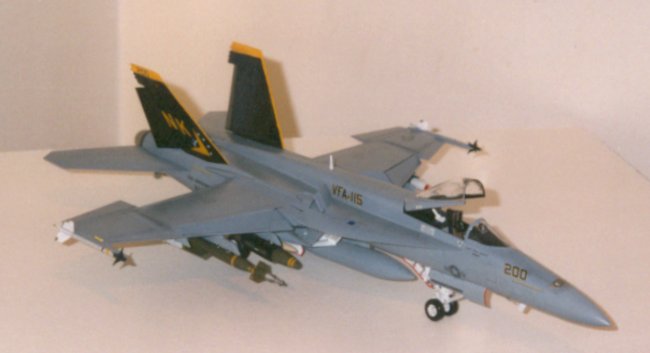
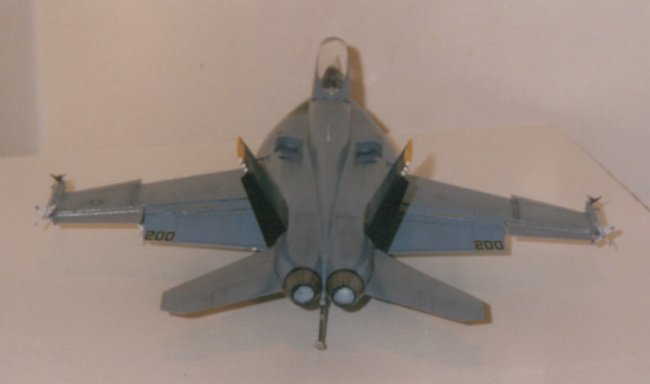
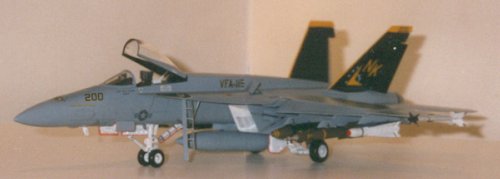
Here is my recently finished F/A-18E Super Hornet
in 1/48 scale from Italeri. It is
built completely OOB except for 2 GBU-16's and a pair of GBU-31 JDAM's from
Hasegawa weapons set D. The decals
are from CAM decals and go on very well, I also used some kit decals for the
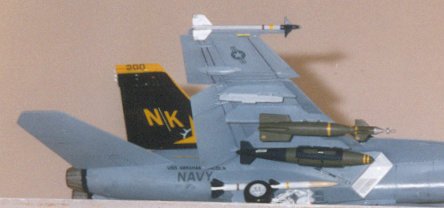
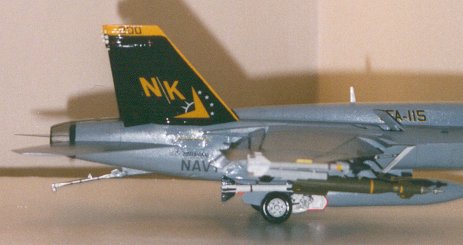
data. The markings are for VFA-115
Eagles with black tails. The bombs
are a kit in themselves with extensive decals, but they were well worth it.
I also added a maverick to the outer pylon of one wing from a Monogram
A-10 kit, and scratch built the rail for it.
I also scratch built the sway braces that hold on the bombs.
The sidewinder and AMRAAM are of kit.
The decals went on very well
and conformed well to the kit. I
highly recommend them, but now I have seen that Orion Models will be releasing
the same set. They will
probably have more stenciling on them but these worked for me as I am a 17 year
old modeler who is just really getting into the hobby and learning the tricks
and techniques needed to make beautiful looking kit with no seems.
This is actually the first time I have used putty and sandpaper on a kit. This is also my first model built with the use my new
airbrush, the Aztek A470.
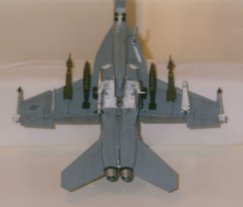
I have also cut and lowered the inside flaps and slats on the
wings, deleted the airbrake which does not belong there, and have cut the
rudders and deployed them also to make the aircraft appear as it would on the
ground. I have also dropped the
tail hook to add an area of interest to the model.
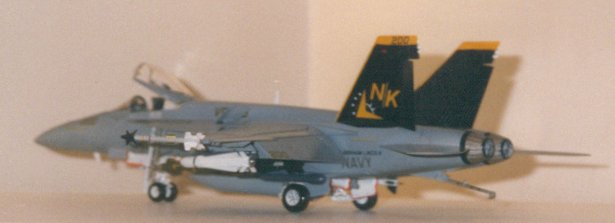
The model was painted with MM
acryls with upper surface painted dark ghost gray and lower surface with light
ghost gray. After painting it
received a coat of future then decals were applied.
Then it received another coat of future and was ready for weathering.
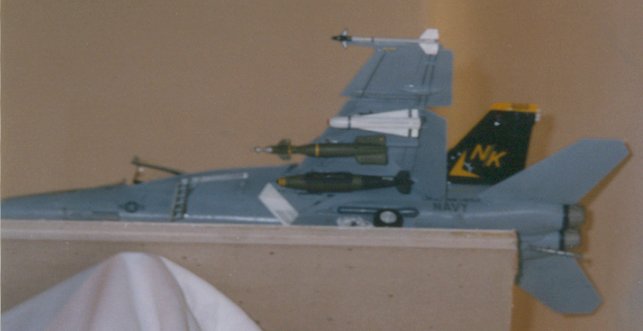
Although this plane is relatively new and clean, I chose to go slightly
heavier then usual with the weathering. I
went over each panel line with a sharpened no.2 pencil and rubbed off the excess
with my finger in the direction of the airflow.
It gives a subtle but distinguished look to the panel lines.
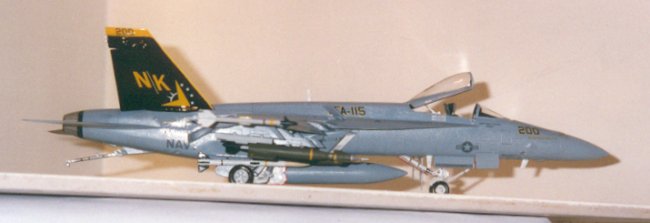
I also rubbed in some chalk pastels around the wingfold area and the
cannon over the nose to show areas that receive more dust and dirt usually.
This was also done under the fuselage near the rear.
After weathering was complete the model received a final coat of future
then the small details were added last.
| The only area that
really presented me with a problem was the intakes.
After some extensive dry fitting I
finally think I got the parts to match up as good as possible with minimal
gaps, but some filling pretty much got rid of them all.
Maybe 1 or 2 got by that is fine by me, as I wasn’t looking to
build a contest winner. The
canopy was added to the kit last and was dipped in future a few times
(don't remember how many). |
|
Overall, this was a fun and an enjoyable build. This is my second Superbug, and this one definitely came out
better then the first. As I have
said before the only area of difficulty was the intakes but in the end they
worked out just fine.
I hope Italeri comes out with an F model soon in 1/48 scale and
then I will also buy the BB cockpit set if one is available, as the kits is very
simple with deals for the consoles.
Well there it is my Superbug,
hope you all enjoyed it!
Sebastian
|
|