|
In the late 1950's the USAF felt that their advanced trainer of the time, the
T-33, did not have the performance required to prepare students to fly the then
current generation of fighters As a result Northrop proposed a development of
their N-156 project. The trainer version of this project became the T-38, the
world’s first supersonic trainer, while the fighter version became the F-5.
The T-38 first took to the air in prototype form in March 1959 and entered
service in March 1961 two years later. With it's small, swept wings and
supersonic performance the T-38 was much better suited to introducing students
to the flying characteristics and speeds of the Century series fighters. In
practice the supersonic performance proved to be essentially useless. At most,
the pilot training syllabus included only a single supersonic ride (which was
frequently terminated for a fire light anyway, but which at least relieved the
boredom of the ride), and currently the USAF SUPT program includes no supersonic
rides. In 1972, when production ended, Northrop had built 1,187 T-38's, the vast
majority of which served with the USAF. Other operators of the type included
NASA, the U.S. Navy, German Luftwaffe, Portugal, South Korea, Taiwan, and
Turkey. Over the years several modification programs for the T-38 took place.
Some were to extend life span, while others were to correct certain definite
limitations the aircraft demonstrated. The Pacer Classic program, initiated in
1984 was designed to extend the useful life of the Talon by replacing major
components as were the USAF Wing Life Improvement Programs of 1997 and 2001.
Currently over 500 T-38's are still operational with the USAF and are going
through two different upgrades to extend their useful lifespan through 2020. The
T-38C is replacing various avionics and adding a "glass" cockpit, to
better match what graduates will see at their FTU's. The other program is the
Propulsion Modernization Program which adds new inlets and nozzles to increase
the T-38's less than stellar takeoff and single engine performance, especially
in hot weather. Through the years the T-38 has maintained an excellent safety
record despite its demanding flight characteristics, and has provided an
excellent stepping stone for students to eventually go on to bigger and better
aircraft.
| Click on
images below to see larger images |
 |
|
 |
|
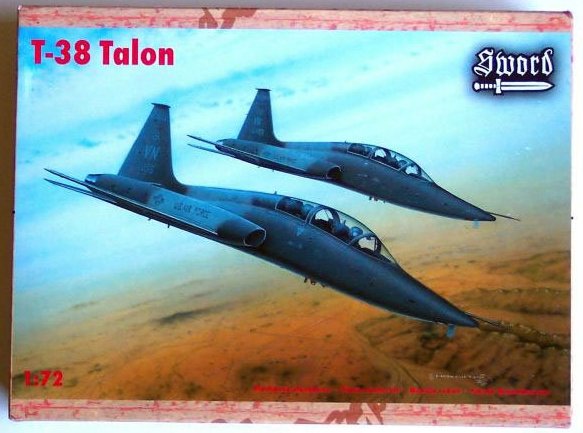
Till this point, the only options
for building a T-38 in 1/72 were either using Hasegawa's ancient kit (which was
really an F-5B anyway) or converting the much better ESCI/Italeri F-5's through
some major surgery. The Sword T-38 is a recent release, and seems to be a scale
down of their 1/48 kit. They did take the opportunity to correct certain
problems, such as the fairing in front of the windscreen. Sword’s T-38 allows
one to build a T-38A straight out of the box. Modifying it to an AT-38B would be
a relatively simple process, while converting it to a T-38C would be much more
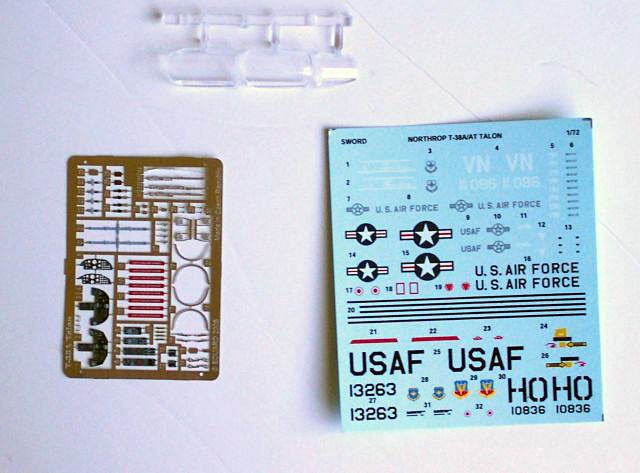
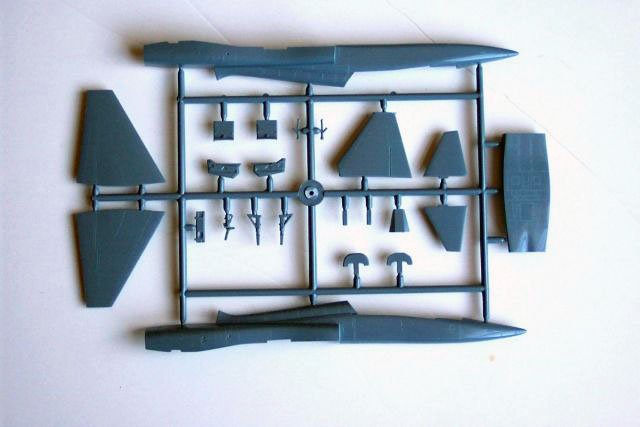
involved. The kit consists of a single sprue of gray, injection molded plastic,
a clear sprue, a prepainted, photo-etch fret, and a small bag of resin parts.
All detail is recessed, and generally well done, while the clear parts
comprising the two canopies and windscreen are somewhat cloudy and would
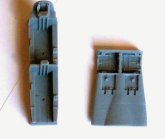
probably benefit from a dip in Future. The fuselage is split into three major
plastic parts: left and right fuselage, and aft fuselage bottom. A resin
“plug” provides the airbrake and main wheel well area, and other resin
pieces the intakes and nose wheel well. The wings and vertical stab are all
separate, one piece items, which you'll have to be careful gluing, since the kit
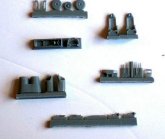
has no locating tabs anywhere. The cockpit is a combination of resin bathtub and
seats, supplemented by the photo-etch, which provides the instrument panels and
side consoles.
The main let downs for me are
primarily the omissions and mistakes, albeit small ones. The seats make an
attempt to reproduce the later drogue chute equipped head rest of the Northrop
seats but fail. These will require some file and sandpaper to bring them to the
right shape, using walk around photos from here on ARC. In addition, they also
lack the seat-man separator strap and the headrest mounted canopy breakers. The
other cockpit omissions are the AOA indexers on the coamings, and the Plexiglas
screen between the front and rear cockpits. Ostensibly there to protect the rear
seater from wind blast and ejection forces, the Plexiglas frequently serves the
much more useful purpose of preventing the IP in the rear seat from reaching up
and strangling the student in the front. The final omission is the metal fairing
that joins the two burner cans on top. Other quibbles with the kit are the
decision to reproduce small items in resin. There is no way I could find to
separate the control sticks from the resin block without breaking them, and the
photo etch also has some ridiculously small parts to bend for exterior use,
which I don't anticipate being able to use. Finally the last faults center
around the landing gear. The nose gear is bulkier and more akin to the F-5 nose
gear than the T-38 nose gear, not to mention the strut is much too compressed.
The main gear wheels have the locating hole for the axle on the wrong side; that
will mean some filling of the hole on the wrong side (I would recommend a sprue
plug) and drilling on the other. A test fit of the main components
showed that, even without locating pins, they fit very well, so I would
anticipate no major problems there. The shapes all look good, and match up well
against available drawings, pictures and my memories from flying the
Talon.
The kit provides markings for two
white jets, a Holloman jet with tail codes and a T-38 without codes from an
unidentified base, and finally for a Vance jet in the later FS#16081 and
FS#16473 gray scheme. The decals are thin, glossy, and generally in register
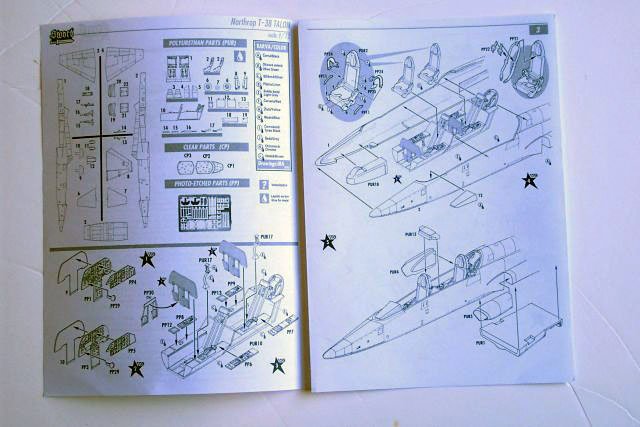
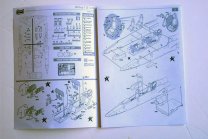
with the exceptions of the full color ATC symbol. The instructions are
generally well laid out in booklet form; although, they do have errors. They
neglect to mention the pitot tube in construction and would have one place the
rear cockpit’s mirrors in the wrong place. They should go on the frame
between the canopies, not on the inside of the rear canopy.
Overall, this is not a kit for beginners, because of the mixed media and
lack of locating pins; however somebody with moderate skills can make a very
attractive kit of this long lived trainer without having to resort to the
compromises and surgery required before.
Murph
|
|