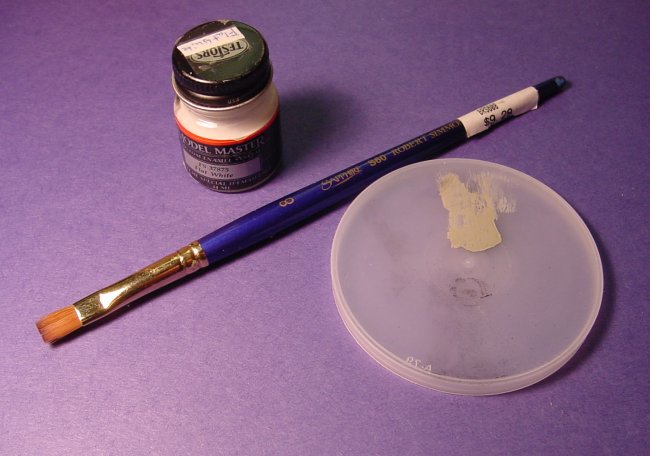
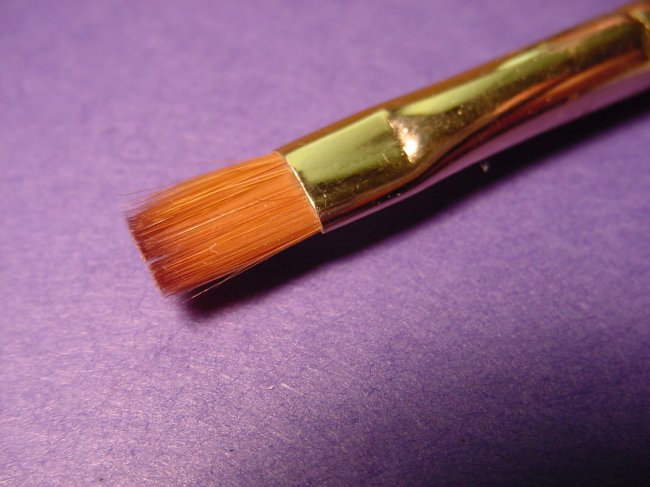
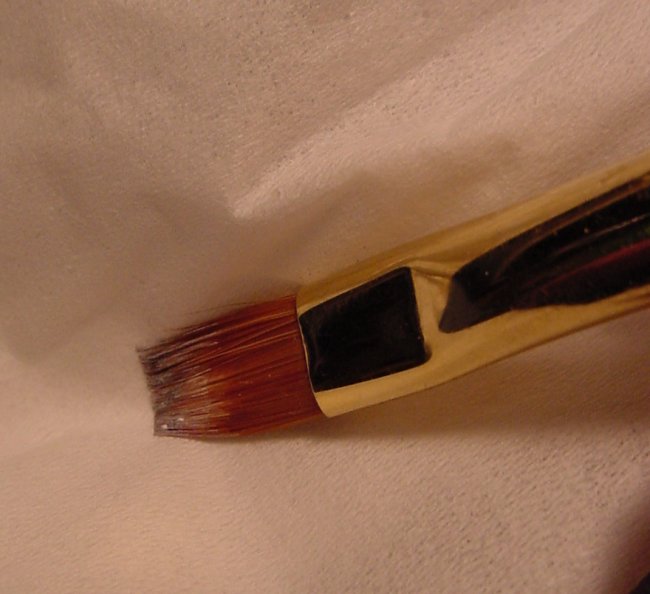
| The most important part of
this process is the brush. You want bristles of a very high
quality. In my case I'm using a US$6 brush that is a #8 Sapphire S60
by Robert Simmons. You don't have to get this exact brush.....any
decent brush will do.....a wide type brush works better. |
| Click
on images below to see larger images. |
 |
|
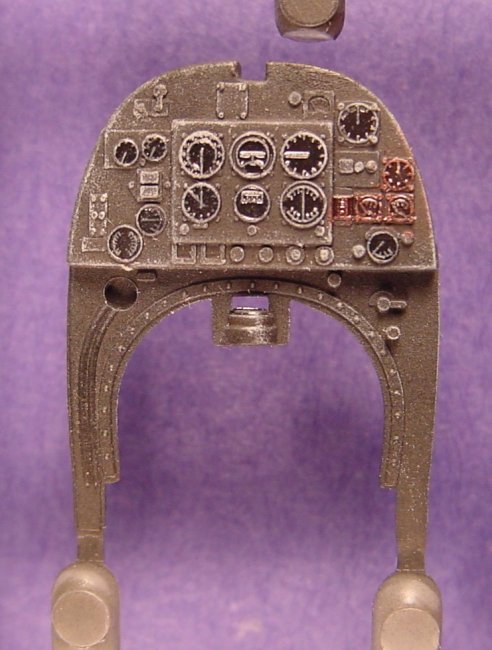
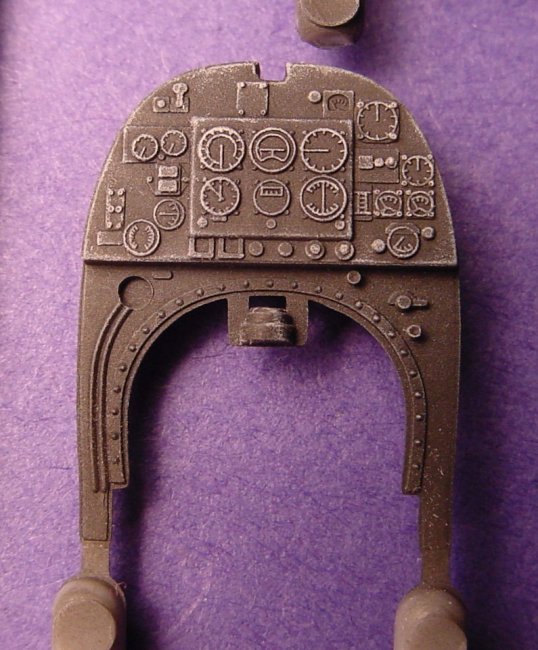
| We begin with the unpainted 1/48
Hasegawa Spitfire Mk.9 instrument panel. This instrument panel is
about the size of my thumbnail. the raised detail is amazing.
This kit even comes with an instrument panel decal, but I prefer the
drybrushing technique. |
|
| First airbrush the panel the
base colour (flat black). |
|
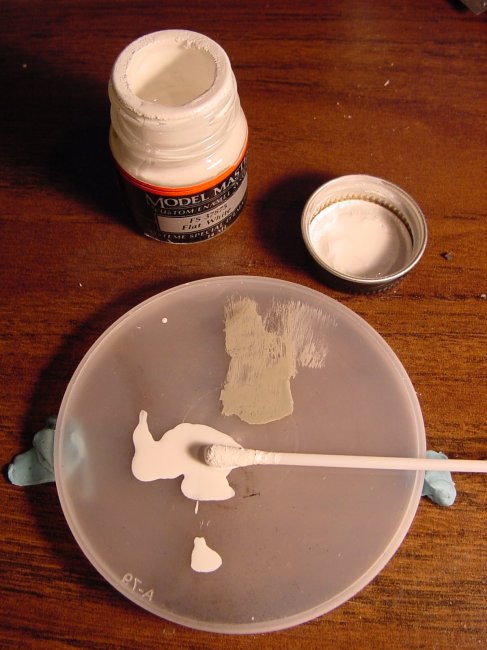
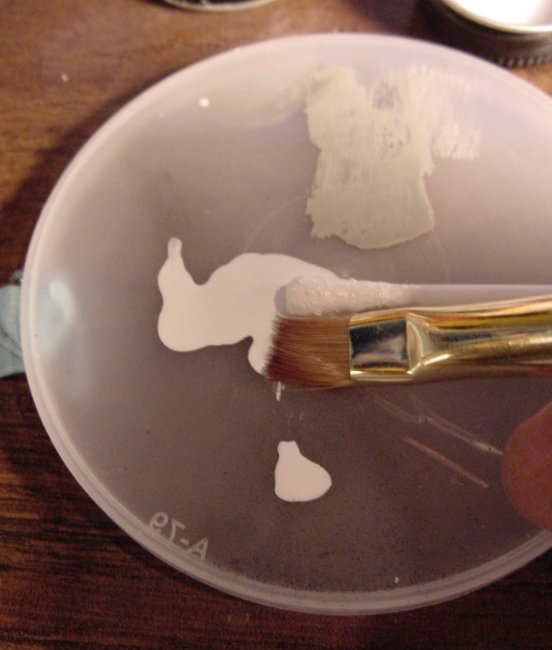
| Next apply your drybrushing
paint to the plastic lid. I did this with a Q-Tip cotton swab....but
almost anything will do....such as an eyedropper. |
|
| Gently dab into the paint...you
want a very small amount of paint on your paint brush. |
|
| Remove 95% of the paint from the
paint brush by wiping it on a Kleenex. Too much paint will ruin the
painting you are trying to do. Too little paint is never a problem. |
|
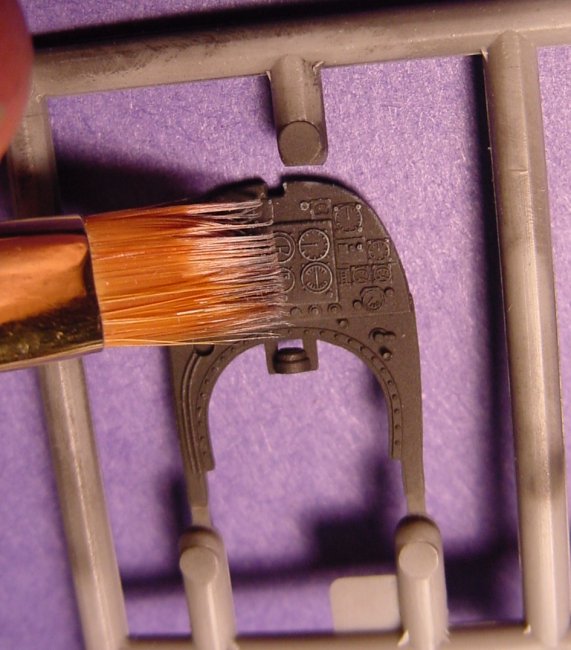
| Take your almost dry brush and
swipe it back and forth lightly across the raised detail you want to
highlight. The movement of the bush is almost a quick and gentle
"dusting" motion. Just pretend you're using the brush
to clean some dust off the instrument panel. The goal is to highlight
the raised detail. |
|
| Raised detail looks good now
after being drybrushed with flat white paint. |
|
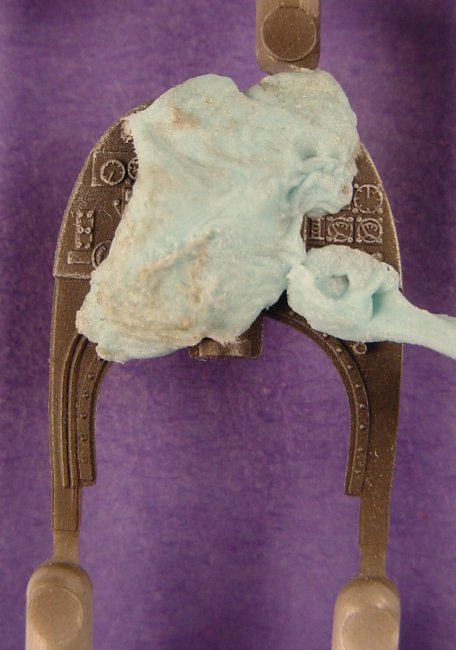
| For this instrument panel, some
of the gauges have reddish brown bezels. So I masked using Blu-tac
which can be found at any decent stationary store. |
|
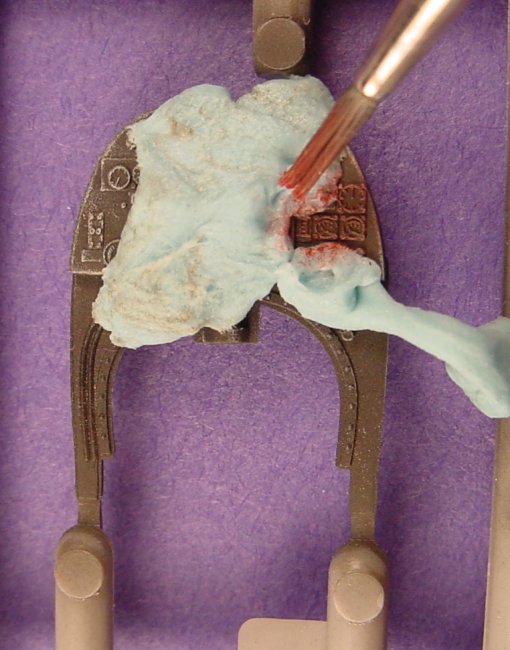
| I drybrush my custom mixed
reddish brown paint to the instrument panel bezels that are supposed
to be red. For this sort of focused detail drybrushing I use a
narrow brush.
|
|
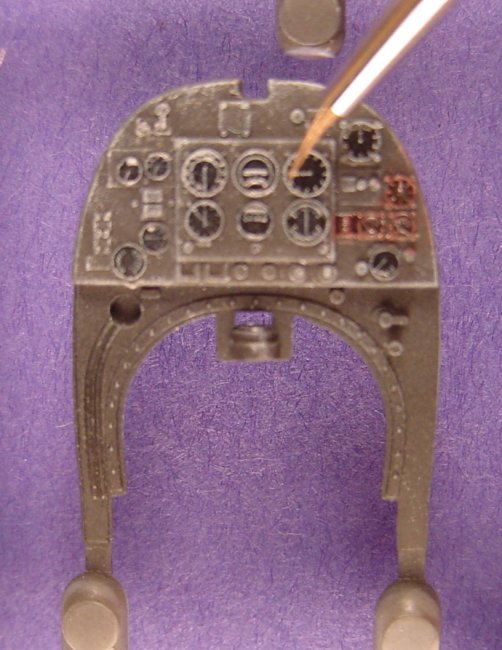
| A few coats of
"Future" on the gauges to give them that glass look. The
gauges appear black in this picture because of the Future that was applied
to them. This dark black effect is caused by the Future and will
stay that way. I would usually put on at least 3 coats of Future on
the gauges to give them the effect of glass on the dials. |
|